Are you passionate about sewing and want to learn how to sew the bias tape at an angle? You clicked in the right place! In this article I will share with you my tips for performing this technique quickly and easily. By following these tips you will be able to obtain a professional result that will give an impeccable finish to your creations.
Everything you need to know about sewing bias tape
Before you start sewing bias tape on a corner, you should first understand what bias tape is and what its purpose is. Bias is a fabric cut obliquely to the thread, which gives it a certain elasticity. This feature makes it the ideal element for edging the hems and edges of clothing or decorative objects, giving them greater resistance and durability.
The bias comes in the form of a pre-folded strip that you buy at the haberdashery, or you make it yourself from a piece of fabric. This last option can be interesting if you want to use a fabric coordinated with your project or if you can’t find a ready-made bias tape according to your tastes.
Here are the main uses of bias tape in sewing:
- Edges of cushions, napkins, tablecloths…
- The hems of clothing (dresses, skirts, trousers, etc.)
- Neckline or armhole finishes
- Straps for bags or clothing
- Decorations on objects, clothes…
Now that you know what bias tape is and what it is used for, let’s move on to the technique for sewing bias tape onto a corner.
Steps to sew the bias tape at a right angle
Sewing bias tape at a right angle may seem complicated at first. Here are the steps to follow:
- First, cut the bias tape so that it is long enough to border the entire piece you are making. You can use ready-made or homemade bias tape depending on your preferences.
- Then open the bias tape and pin it right sides together on the back of the fabric, lining up the raw edges. Make sure all angles are taken into account.
- Sew the bias tape with your sewing machine following the fold line of the bias tape, starting from one corner. As you approach the corner, stop about the width of the bias tape before the edge with the needle inserted into the fabric.
- To get closer to the corner, lift the presser foot and rotate the piece of fabric so that the edges line up with the new direction. Lower the presser foot and continue sewing towards the next corner. Repeat the operation for each corner until you return to the starting point.
- After sewing the bias tape on one corner, iron it outward to flatten the seams. You can also use a bias tape or your fingers to mark the bias tape.
- Finally, fold the bias tape on itself to cover the previous seam and secure it with pins. Then sew a few millimeters from the inside edge of the bias tape to secure everything permanently. Your bias tape is now sewn at a right angle!
Sewing a bias tape on a rounded corner: how to do it?
If you need to place the bias tape on a rounded corner, the method is slightly different. Here are the steps to follow:
- Just like with right corners, cut and prep the bias tape before you start sewing it onto the fabric. For rounded corners, it may be helpful to pin thicker to keep the bias tape in place.
- Open the bias tape and pin it right sides together on the back of the fabric. Make sure you spread the bias tape all the way around the rounded corner, without pulling or puckering the fabric.
- Start sewing the bias tape by following the fold line and making small even stitches. Feel free to adjust the speed and rotate the piece slightly at each stitch to get a nicely rounded seam.
- After sewing the bias tape to the rounded corner, fold it outward as with right corners, then press or mark the fold with your finger before machine stitching.
By following these instructions, you should be able to successfully sew bias tape onto a corner, whether straight or rounded. Don’t hesitate to practice this technique on scraps of fabric to familiarize yourself with it and gain confidence. Once mastered, this technique will be very useful for edging your creations and giving them a neat finish.
About the author
Recent articles
To feel good about your clothes and have confidence in yourself, you need to have a well-stocked wardrobe. Dresses are essential elements of a woman’s wardrobe, but…
Sewing is a passion for many, but it can quickly become expensive. That’s why I offer you here a complete guide to finding free sewing patterns in…
Welcome to the exciting world of women’s coat designs! If you’re like me, admiring a beautiful coat always makes you want to start sewing…
Latest posts
How to wash, dry and care for bedding?
Curtains are an exclusive highlight of home interiors
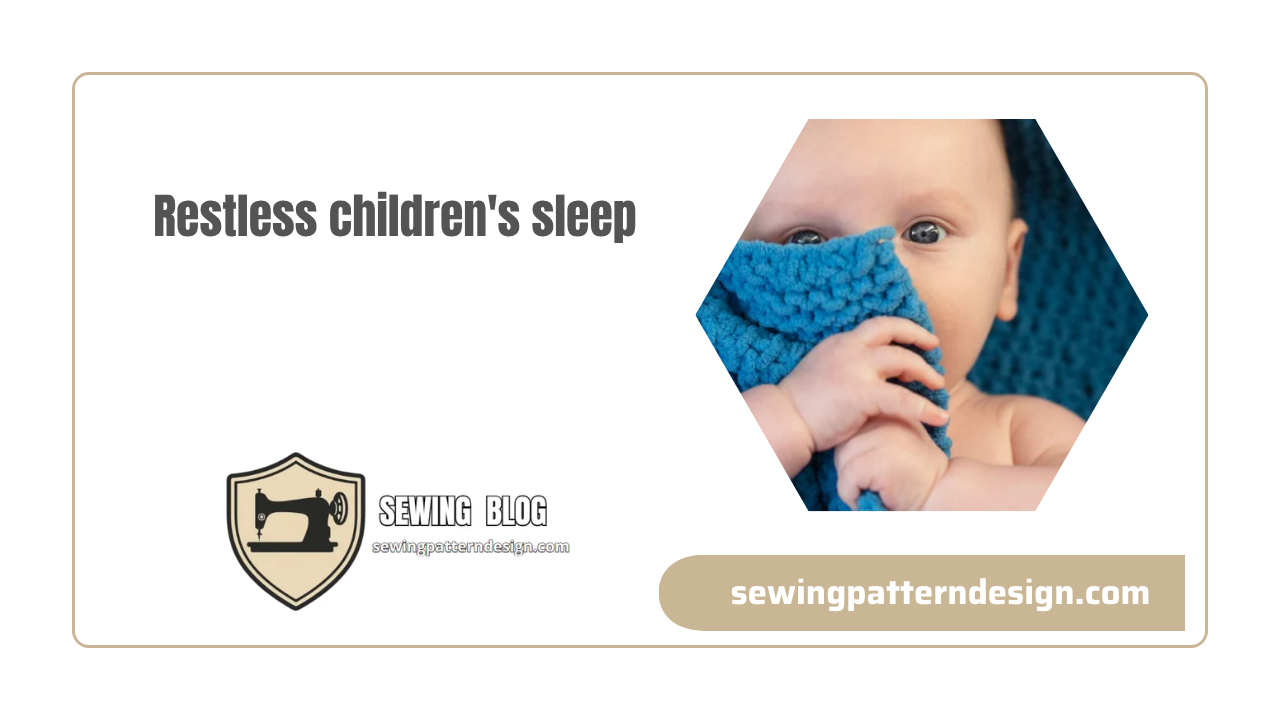
Restless children’s sleep

Satin care: tips and guidelines
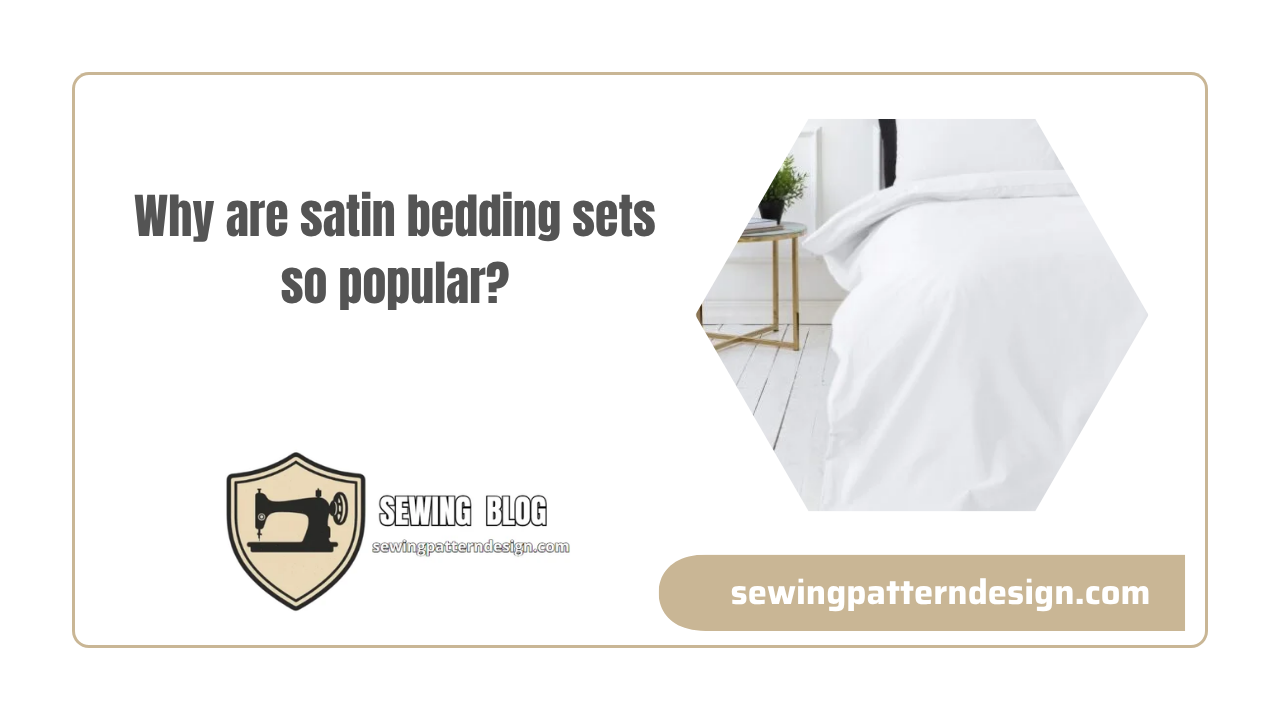
Why are satin bedding sets so popular?

Home textiles for sensitive skin
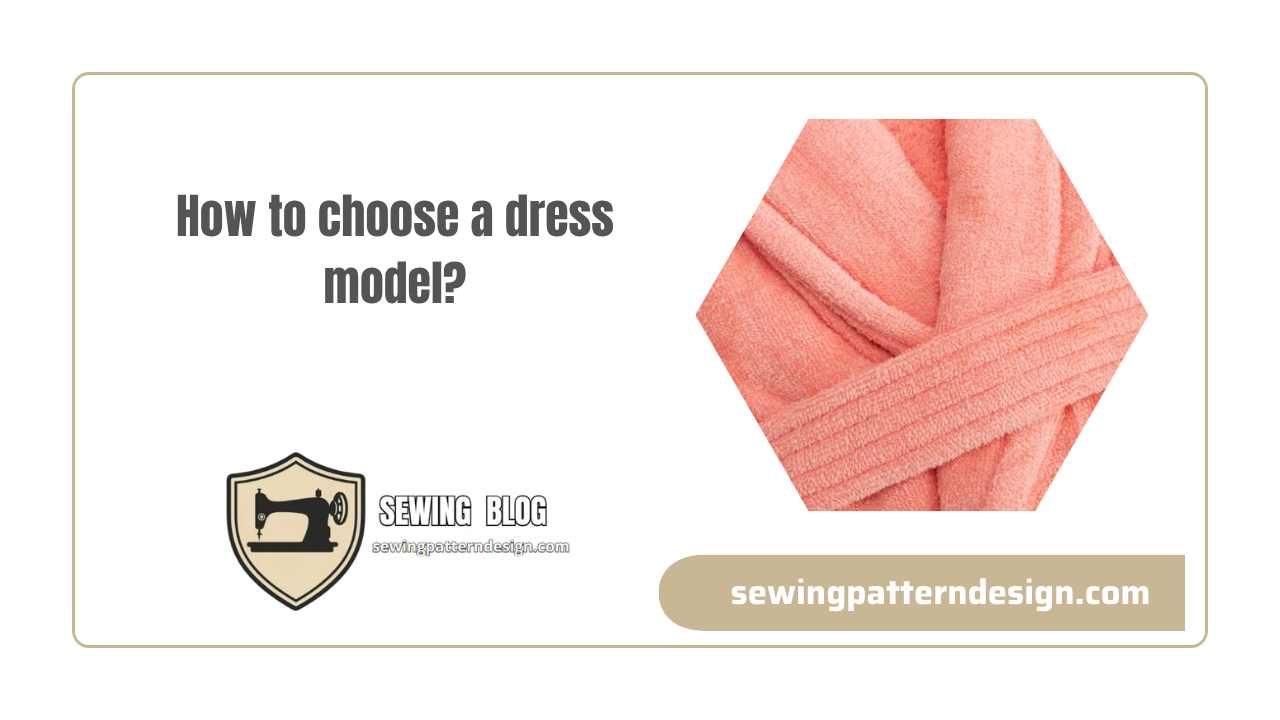
How to choose a dress model?
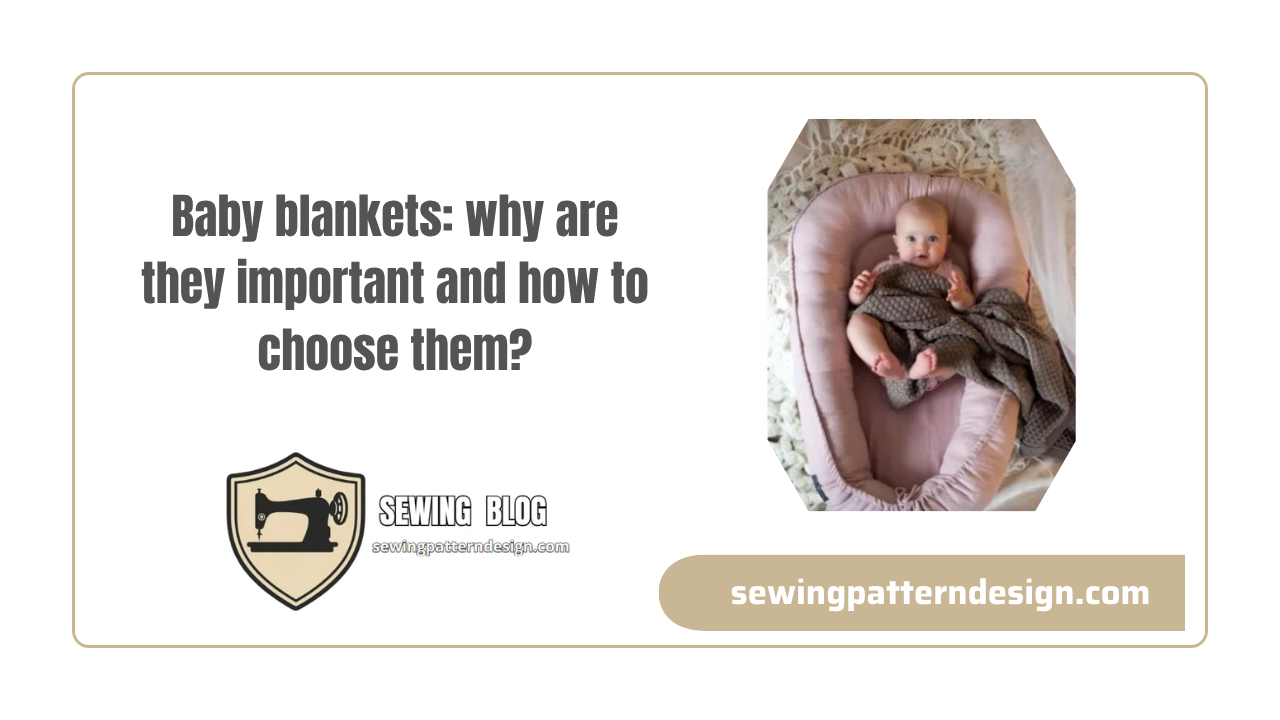
Baby blankets: why are they important and how to choose them?
Herbs: Natural Ways to Improve Sleep