As a sewing enthusiast, I’m always looking for tips and tricks to improve my creations. Today I’ll share with you a technique that can make a difference in the finish of your clothes: interfacing. In this article I will explain what interfacing is and how to use it to give more thickness, softness and hold to your projects.
What is interlining and why use it?
Interlining is a layer of fabric, usually fleece, that is added between the outer fabric and lining of a garment. Its main role is to provide support and structure to the garment, thus giving it greater stability. Interfacing is especially useful for delicate areas, such as cuffs, collars and the center sections of jackets, but can also be used across an entire garment to create a thicker, fluffier effect.
There are different types of stabilizers, each with its own characteristics and advantages. Here’s a quick overview:
- Textile interlining: It is a thick, flexible fabric that is sewn directly onto the outer fabric. It is ideal for giving structure without weighing the garment down too much.
- Iron-on interface: As the name suggests, this is an interfacing that attaches to the outer fabric using heat. It is very practical and quick to use, but on some types of fabrics it may not last as well over time.
- Network interface: This type of interlining is particularly suitable for stretch fabrics, because it maintains the elasticity of the fabric while providing structure.
How to choose the right covering for your project?
To choose the most suitable covering for your project you will have to take into account several criteria:
- The weight of the fabric: The thicker and stiffer the fabric, the greater the thickness of the interfacing it will need to support its structure. On the contrary, a lightweight fabric requires a thinner interfacing so as not to weigh down the garment.
- The properties of the fabric: If your fabric is stretchy or has special features, choose a suitable interfacing, such as the mesh interfacing mentioned above.
- The application method: Decide whether you’d like to sew the interfacing or use a fusible pattern to save time and effort.
How to loom a garment step by step?
Now that you’ve selected the right siding for your project, it’s time to take action. Here’s how to do it:
Step 1: Trim the interfacing
First cut out the interfacing following the template of the piece you want to use it on. If it’s a specific area like a collar or pocket, be sure to mark these areas on the interface to make it easier to place later.
Step 2: Assemble the interfacing and outer fabric
To assemble the stabilizer and outer fabric, follow the specific instructions for the stabilizer you chose:
- Textile interlining: Place the interfacing facing the outer fabric and sew the two layers together following the stitching lines indicated on the pattern. Feel free to use pins to hold the interfacing in place as you sew.
- Iron-on interface: Place the interfacing facing the outer fabric, with the glue-coated side against the fabric. Use a hot iron (no steam) to attach the stabilizer to the fabric by pressing firmly and holding the heat for a few seconds. Allow to cool before handling.
- Network interface: This method is similar to that used for textile interlining, but with particular attention to the stitching to preserve the elasticity of the fabric. Use a stretch stitch or zigzag stitch to sew the two layers together.
Step 3: Assemble the rest of the garment
Once you’ve assembled the inner lining and outer fabric, continue constructing your garment as usual. Sew the different pieces together, making sure to respect the seam allowances and steps indicated in the pattern instructions.
Tips for successful interlining
To successfully interline your clothes, I suggest some tips to achieve impeccable results:
- Test interfacing on fabric scraps: Before interlining the main pieces of your garment, test on fabric scraps to check that the weight and type of interlining are compatible with the outer fabric.
- Use a garlic press to flatten the seams: After sewing the interfacing and outer fabric together, use a garlic press (flat, smooth sewing tool) to flatten the seams. This will avoid unsightly excess thickness at the seams once the garment is finished.
- Respect the cooling times: When using iron-on, it is essential to allow the fabric to cool before handling to allow the glue to set properly and avoid any distortion of the garment.
With these practical tips and tricks, I am convinced that you will have great success in coating your creations. Don’t hesitate to share your successes and difficulties encountered during these projects, we are here to learn together! Happy sewing!
About the author
Recent articles
To feel good about your clothes and have confidence in yourself, you need to have a well-stocked wardrobe. Dresses are essential elements of a woman’s wardrobe, but…
Sewing is a passion for many, but it can quickly become expensive. That’s why I offer you here a complete guide to finding free sewing patterns in…
Welcome to the exciting world of women’s coat designs! If you’re like me, admiring a beautiful coat always makes you want to start sewing…
Latest posts

How to wash, dry and care for bedding?
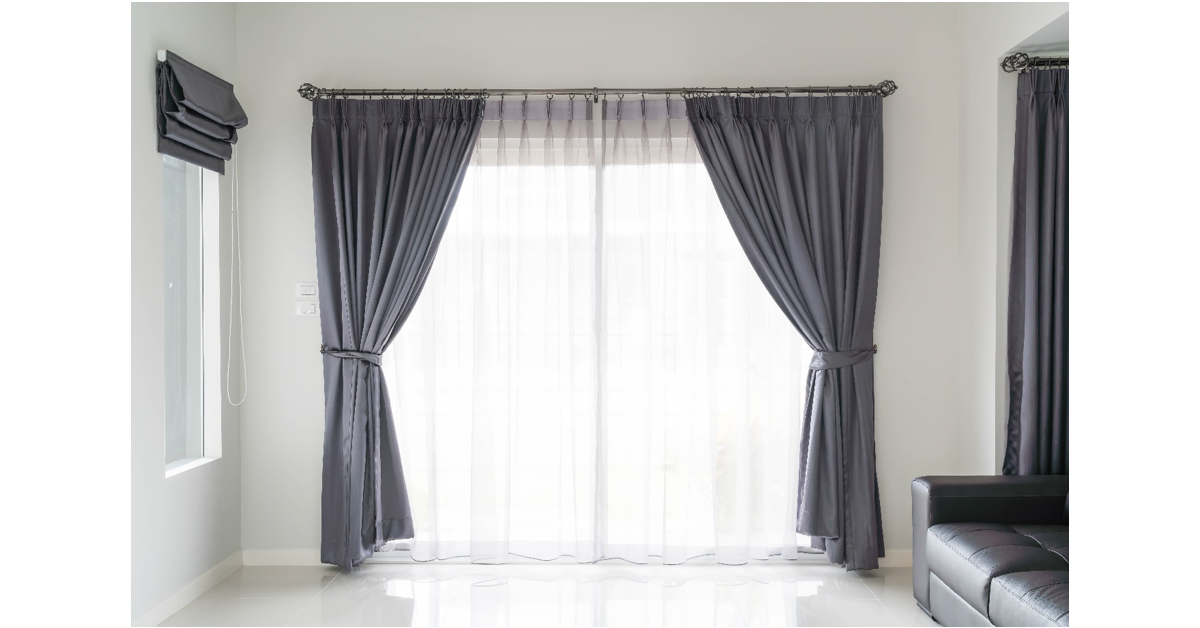
Curtains are an exclusive highlight of home interiors
Restless children’s sleep

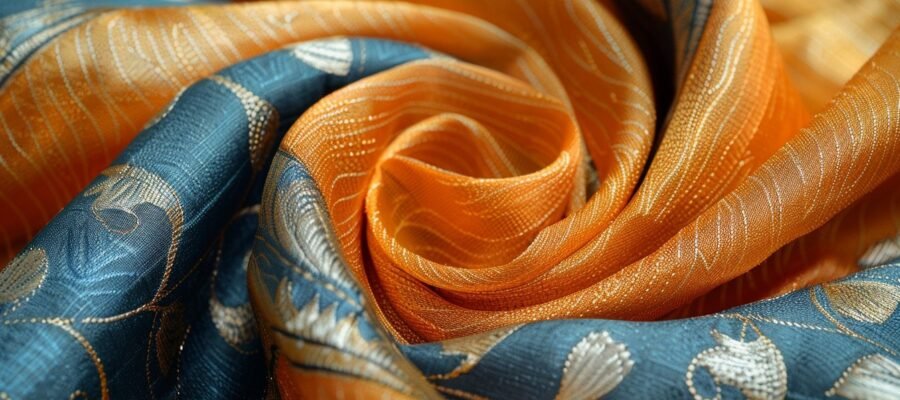
Satin care: tips and guidelines
Why are satin bedding sets so popular?

Home textiles for sensitive skin
How to choose a dress model?
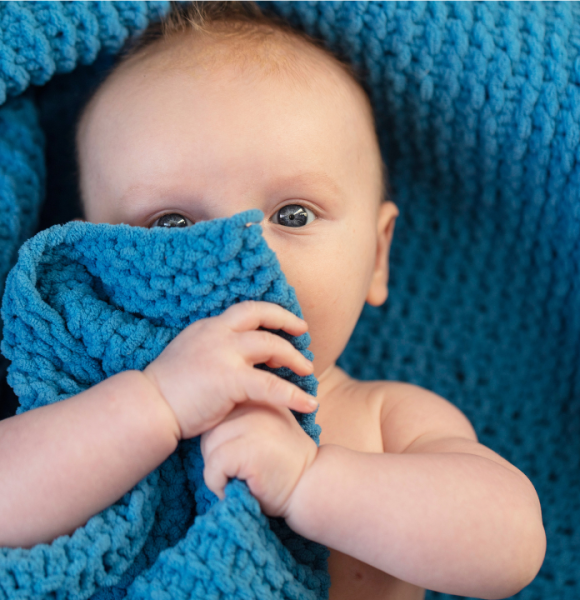
Baby blankets: why are they important and how to choose them?

Herbs: Natural Ways to Improve Sleep
